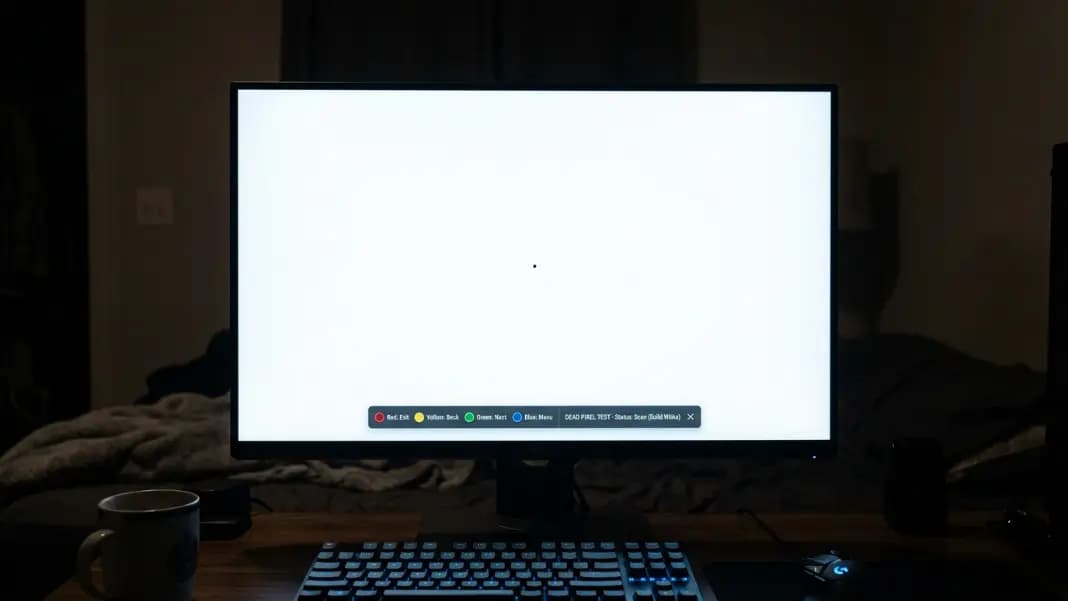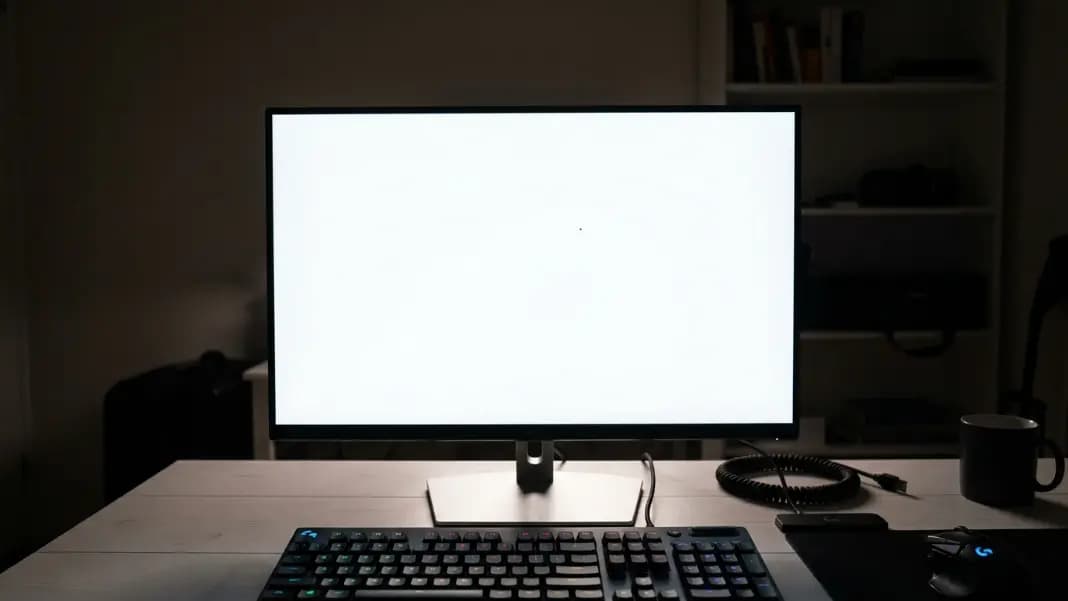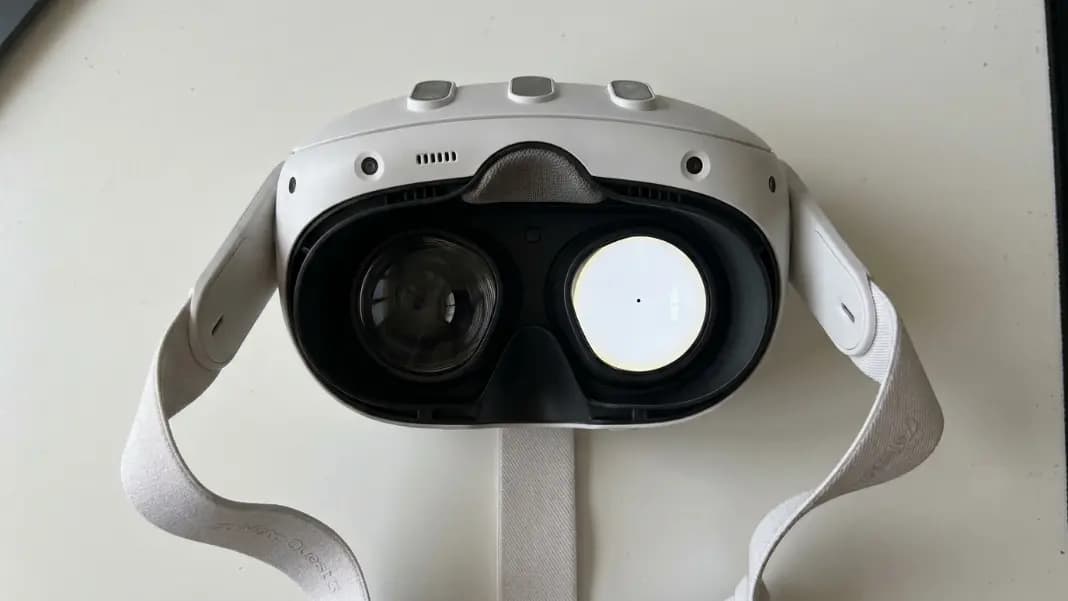
You put the headset on and see it immediately: a single bright dot that doesn't belong, hanging in the middle of your field of view like a piece of dust that won't wipe away. You reach up and touch the lens out of instinct. Nothing changes. The dot moves with your head, stays locked in place relative to everything you see, and refuses to disappear whether you are in a bright scene or a dark one. That is an oculus dead pixel, and it is far more disorienting than any defect you have encountered on a flat monitor.
This guide walks through why VR display defects hit differently, how to confirm the problem is the display and not the lens, how to run the dead pixel test inside your headset, and exactly what steps get you a replacement under Meta's warranty.
The test process matters here because a common mistake is casting the headset to a phone or TV and looking for the defect on the external screen. Casting compresses and downscales the image. A single pixel defect in the display is invisible at cast resolution. The only way to see a VR pixel defect clearly is to look through the lens with the test running at fullscreen inside the headset itself.
Why a Dead Pixel in a VR Headset Is More Disorienting Than on a Monitor
The geometry of a VR headset creates conditions that make any display defect more obtrusive than the same defect on a standard monitor. Two factors combine to produce this effect, and understanding them explains why a single pixel in a Quest can ruin an experience that five dead pixels on the edge of a 27-inch monitor would never affect.
The first factor is viewing distance. The display panel in a Meta Quest 2, Quest 3, or Valve Index sits approximately 3 to 4 centimeters behind the optical lens stack. At that distance, each pixel subtends a much larger visual angle than a pixel on a desktop monitor viewed from 60 centimeters. The angular size of a single defective pixel is dramatically amplified by the optics, making it appear physically larger in your field of view than it actually is.
The second factor is head coupling. When you look at a monitor and notice something distracting, you shift your gaze or change your viewing angle. The defect moves out of your line of sight. In a VR headset, the display moves with your head. No matter where you look, the defect stays at exactly the same position in your visual field. There is no way to angle it out of your direct line of sight because the display tracks every movement you make.
A single bright stuck pixel at the center of a Quest display has a level of disruption roughly equivalent to a bright object floating in front of your eye. The comparison to a monitor is almost meaningless. Central defects are that much worse in VR, and this is exactly why Meta's warranty treats a central bright pixel in a VR headset as a strong qualifying defect even when a single pixel would not qualify on a standard display.
What Display Technology Your VR Headset Uses
Not every VR headset uses the same panel technology, and the type of panel determines what kind of defect you are most likely to see. The OLED vs LCD dead pixel guide covers the underlying differences in detail, but here is how those differences apply specifically to the headsets most people own.
The Meta Quest 2 and Meta Quest 3 both use LCD panels with local dimming LED backlights. On an LCD panel, a dead pixel is always dark because the transistor controlling that cell has failed and the backlight is blocked permanently. On a white test background, a dead pixel appears as a sharp black dot. On a black background, it is invisible. If you see a dark dot on bright content in a Quest 2 or Quest 3, that is the pattern of a classic LCD dead pixel.
The Meta Quest Pro uses OLED panels. On OLED, each pixel generates its own light. The more common failure mode is a stuck pixel that locks in an illuminated state and appears as a bright colored dot. A stuck OLED pixel is visible on a black background and can be hard to distinguish on a white one. This is the opposite visibility pattern from an LCD dead pixel. The PlayStation VR2 also uses OLED panels, so the same applies there.
The Valve Index uses LCD panels with RGB stripe subpixel layouts, which means dead pixels follow the same dark-on-bright pattern as the Quest 2 and Quest 3. You are looking for dark dots on solid white in the test, not bright colored dots.
Knowing your panel type tells you what to look for before you start the test and tells you which warranty argument to make. OLED headsets typically have stuck pixels rather than dead ones, and stuck pixels can sometimes be recovered without a replacement.
How to Test an Oculus Quest for Dead Pixels in the Headset Browser
The test method for Quest headsets uses the Oculus Browser built into the headset. Do not attempt to test by casting to a phone or TV. Casting compresses the output signal significantly and a single pixel defect will not survive the compression. You must test through the lens with your eye positioned at normal viewing distance.
Put on the headset and wait for the home environment to load. Open the app drawer and launch Oculus Browser. In the address bar, navigate to the dead pixel test tool. Once the tool loads, tap the fullscreen button. The entire lens field should fill with a solid color. If the browser window does not fill the entire view, expand the browser window in the Quest interface until the solid color extends to the edges of your comfortable field of view.
Cycle through each test color and hold each one for at least five to ten seconds. The sequence to use is black, white, red, green, then blue. On the black background, look for any dot that glows in any color. This is the OLED stuck pixel test, so even if you have a Quest 2 with an LCD panel, running it on black costs nothing and confirms no subpixel is lit when it should not be. On the white background, look for any dot that remains dark. That is a dead pixel. On each color background, any dot that does not match the surrounding field is a defect.
Position your eye directly behind the center of the lens during each background. Move your gaze slowly across the field. The optics distort the image slightly at the edges of the lens, which can make a defect harder to see peripherally. Scan from the center outward in a spiral pattern. A dead pixel at the center of the lens aperture is the most serious defect. A defect at the outer edges of the lens field may be less visible in normal use, but it still qualifies as a manufacturing defect.
Write down the position of any defect you find. Describe it as center-field, upper-left quarter, lower-right corner, and so on. This description helps when you file the warranty claim.
How to Test a Valve Index for Dead Pixels via SteamVR
The Valve Index test uses the SteamVR browser rather than the Oculus Browser, but the principle is identical. You must run the test through the headset optics, not on an external display.
Launch SteamVR and put on the Index. From the SteamVR dashboard, open the SteamVR browser. Navigate to the dead pixel test tool in the browser. Use the fullscreen button to fill your field of view with solid colors. Cycle through black, white, red, green, and blue using the same sequence and the same five-to-ten-second hold per color.
An alternative method for the Valve Index is to use a SteamVR environment with solid color backgrounds. Several free SteamVR environments designed for display calibration offer a solid black or solid gray background mode. These are useful for checking stuck pixels on the black background because the environment covers the full field of view including the area outside what the SteamVR browser renders.
The Valve Index uses LCD panels, so dead pixels appear dark on bright content. The black background test is primarily useful for confirming no subpixel is stuck in an illuminated state. The white background is your main dead pixel test. Any dark dot on a full white field that you cannot attribute to the lens edge distortion zone is a defect.
What Dead and Stuck Pixels Look Like Inside a VR Headset
Dead pixels in a VR headset follow the same visual pattern as dead pixels on any monitor, but the optics give them a different apparent size. On a Quest 2 or Valve Index LCD panel, a dead pixel appears as a sharp black dot. It has pixel-exact edges at normal monitor viewing distances, but through the VR lens the dot appears slightly larger due to the magnification effect. It is still clearly a point defect rather than a smear or smudge.
A stuck pixel on an OLED headset like the Quest Pro glows constantly at a fixed color. Red and green stuck subpixels are the most common. A stuck red subpixel appears as a bright reddish dot. A stuck green subpixel appears as a bright green or teal dot. Because OLED pixels emit their own light, the dot is visible on black backgrounds and can look like a tiny LED indicator that someone left on inside the headset. This visual effect is more alarming than a dark dot because it actively adds light to dark scenes.
The lens coupling means the dot stays in your peripheral awareness even when you are not directly looking at it. On a monitor, a peripheral defect is easy to ignore because it is in your peripheral field and stays there. In VR, if you move your eyes the defect tracks. It is never truly peripheral. This is why even a defect at the edge of the optical field in VR is more disruptive than a central defect on a monitor.
For context on how OLED pixel failures differ from LCD pixel failures at the hardware level, the dead pixel on iPhone guide covers the same OLED behavior on smartphone-class displays, which use the same organic emitter technology as the Quest Pro and PlayStation VR2.

Meta's Warranty Coverage for Quest Display Defects
Meta covers manufacturing defects in Quest headsets under a one-year limited warranty from the date of purchase. Display defects including dead pixels and stuck pixels are classified as manufacturing defects, which means they qualify for warranty service if they were present from the factory and were not caused by physical damage.
The strength of a warranty claim for a VR headset dead pixel is generally higher than for an equivalent monitor defect. The head-coupled nature of VR displays and the optical magnification effect mean that a single bright stuck pixel near the center of the field causes disruption that would take multiple defects to replicate on a standard display. Meta's support team is aware of this, and a single central bright pixel on a Quest display is treated as a qualifying defect more consistently than a single pixel would be on a standard monitor.
To file a claim, open the Meta Quest app on your phone. Navigate to Account, then Quest headsets, then select your device. Meta's support flow will walk you through the process. The strongest documentation you can provide is a video of the defect recorded using the headset's cast feature while the dead pixel test is running at fullscreen. Casting for this purpose does not reproduce the defect accurately at cast resolution, but it does show the defect moving with the camera as you reposition the headset, which confirms the defect is in the display and not on the lens surface. Supplement the cast video with a description of the defect position in the field of view and the color or character of the defect.
For a broader understanding of how to document defects and what thresholds different brands use, the dead pixel policy guide covers the major manufacturer policies in detail. The VR headset situation is not addressed there directly, but the documentation principles apply directly.
Before filing a warranty claim, confirm that what you see is in the display and not on the lens. A piece of dust or a smudge on the Fresnel lens surface can look similar to a dead pixel at a glance. Remove the headset, inspect the lens surface with a light at an angle, and clean it gently with the included microfiber cloth. If the dot disappears, it was debris. If the dot is unchanged after cleaning, it is in the display.
What to Do When the Warranty Window Has Closed
If your Quest or Index is past the one-year warranty period, Meta's standard replacement coverage no longer applies. There are still several options worth considering before writing off the headset.
If the defect is a stuck pixel rather than a dead pixel, run the stuck pixel fixer from within the headset browser. Open the dead pixel test tool, locate the stuck pixel fixer function, position it over the defective pixel area, and run it for 20 to 30 minutes. Rapid color cycling sends the affected pixel through thousands of state transitions per second. This sometimes recovers a transistor that is stuck rather than physically dead. If the dot changes color or disappears during the fixer session, it was recovering. If there is no change after 30 minutes, the pixel is either permanently dead or stuck in a way that cycling cannot address.
Third-party VR repair shops handle display module replacements for the major headsets. Replacing the display module in a Quest 2 or Quest 3 typically costs between $150 and $300 depending on the shop and whether parts are available. This is a reasonable repair if the headset is otherwise in good condition and the defect is actively ruining the VR experience. Display module repairs on the Valve Index are less common due to the more complex disassembly required, but specialist shops do offer the service.
Contact Meta support regardless of whether you are within warranty. Explain the defect clearly and describe its position and character. Meta occasionally offers out-of-warranty replacement options at a discount, particularly for headsets that are relatively recent but just outside the one-year window. It is always worth making the contact before pursuing third-party repair.
If the headset is significantly older or the repair cost approaches the cost of a replacement headset, evaluate whether repair or replacement makes more sense. The Meta Quest 3 is meaningfully better than the Quest 2, and if your Quest 2 is out of warranty with a display defect, the upgrade path may cost less than a third-party repair.
For help building the strongest possible case before contacting support, the dead pixel test guide explains how to document defect position, count, and visibility in the format that manufacturer support teams respond to most effectively. Then head to the developer section for the full suite of display test tools you can run directly in the headset browser without downloading anything.