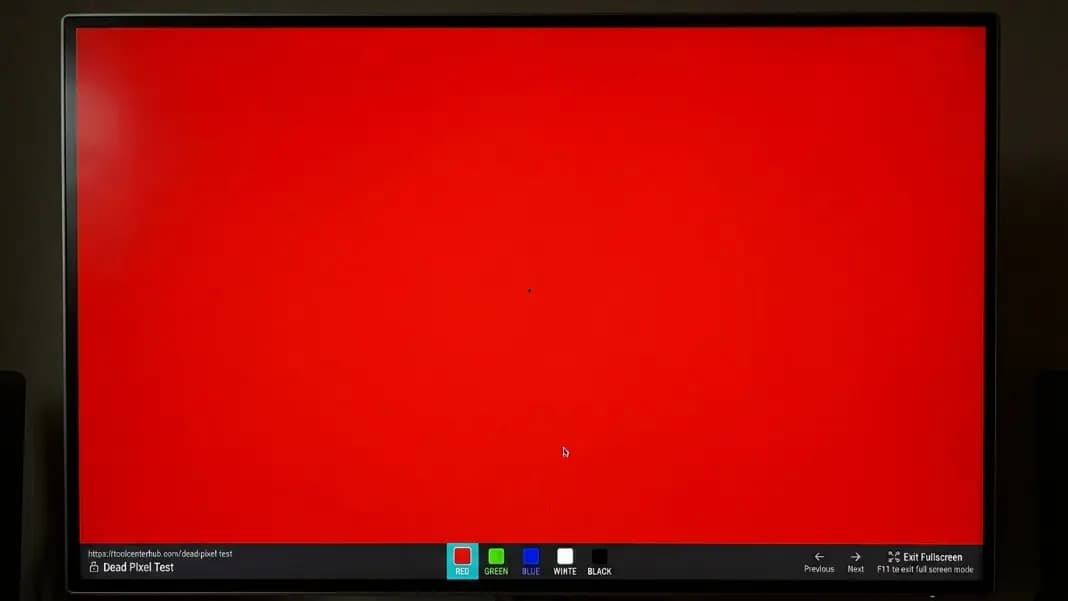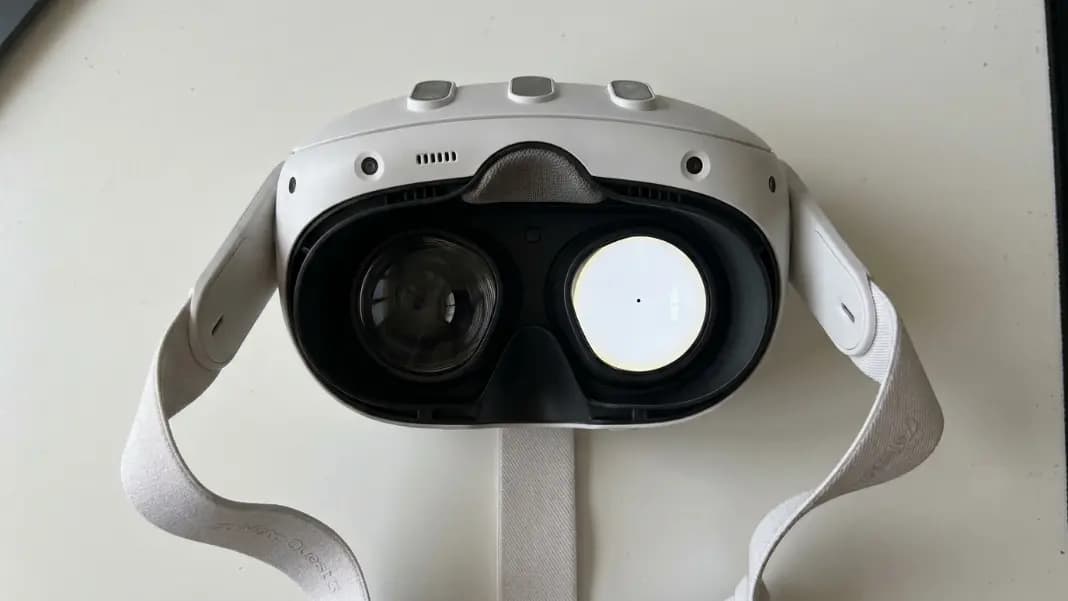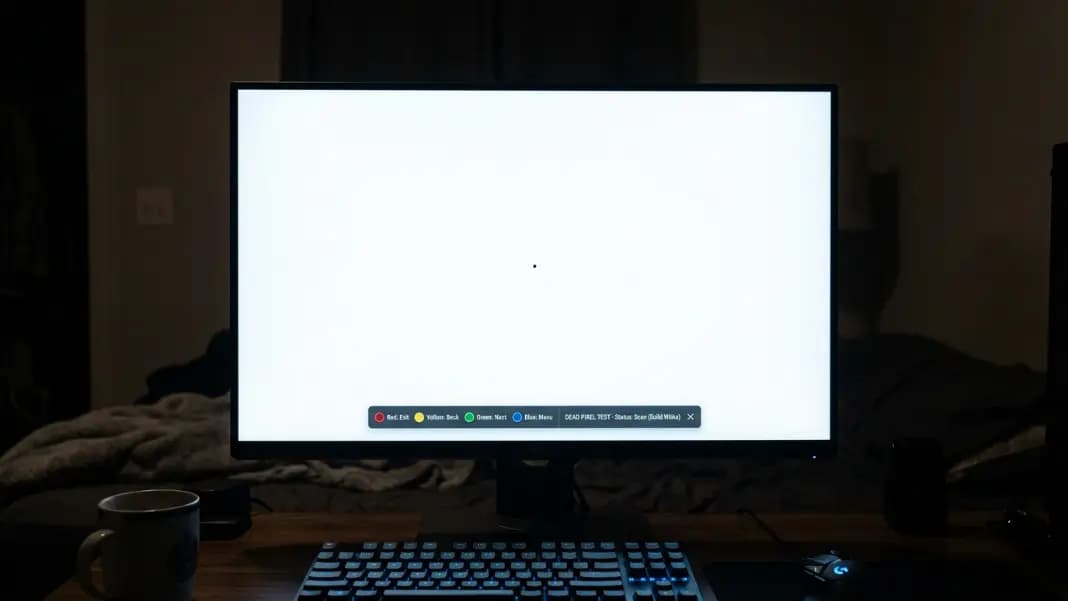
A fixed dot that stays in the same position regardless of what is on screen is almost always a pixel defect — but the test method, fullscreen entry, and what the result looks like all differ by device type. A dead pixel on a Kindle e-ink display looks nothing like one on an OLED phone. The fullscreen key on a Chromebook is not the same as on a Windows laptop. And on OLED phones, the typical failure is a bright stuck pixel, not the sharp black dot that appears on LCD screens.
The dead pixel test cycles your screen through five solid color backgrounds in fullscreen mode. Each color reveals a different type of pixel defect that would be invisible under normal desktop or home screen use. Before contacting a retailer or manufacturer, run the test and document the result with photos taken on a separate camera. That documentation is what determines whether a warranty claim succeeds.
This guide covers the exact steps for each device type, what each color background reveals, and what to do once you have confirmed a defect.
How to Test a Desktop Monitor or Laptop Screen for Dead Pixels
Open the dead pixel test in Chrome, Firefox, or Edge on the computer connected to the monitor you want to test. Press F11 to enter fullscreen. The tool's solid color backgrounds will fill the entire display, including a laptop screen.
Dim the room lighting before you start. Ambient light reflecting off the panel surface makes small defects harder to see, especially on glossy monitors. Testing in a room with controlled, low light gives the best contrast between a defective pixel and the surrounding area.
Cycle through each color and spend at least five to ten seconds on each one. Move your gaze across the entire screen methodically, from corner to corner. Do not rush. Your eyes need a moment to adjust to the flat background and register any anomaly.
On white: a sharp black dot with clean pixel-defined edges is a dead pixel. This is the clearest background for spotting permanently dark cells.
On black: any dot that glows a color, whether red, green, blue, white, or cyan, is a stuck pixel. Stuck pixels are visible on black because the surrounding area produces no light and the defective cell does.
On red, green, and blue: dead pixels appear as black dots against each color. Stuck subpixels appear as dots of an unexpected color. A cyan dot on red means the red subpixel for that cell has failed. A yellow dot on blue means the blue subpixel has failed.
On 4K monitors, test from 30 to 40 centimeters away during the white background check. The individual pixels on a 4K panel are physically smaller than on a 1080p monitor of the same size, and a single dead pixel is easier to miss from normal desk distance. Close-range scanning on white catches defects that would be invisible from further back.
How to Test a Samsung TV or Any TV for Dead Pixels
Connect a laptop to the TV using an HDMI cable. Set the TV input to the HDMI source you connected. Open the dead pixel test in a browser on the laptop and press F11 to enter fullscreen. The solid color backgrounds will fill the entire TV screen.
Dim the room before testing. TV panels benefit from lower ambient lighting for the same reason as monitors: competing light reduces the contrast that makes small defects visible.
Scan from close range first on each background. Walk to within one to two feet of the screen and scan the entire surface. A single dead pixel that is invisible from normal viewing distance at eight feet may be clearly visible from close up. Then step back to your normal viewing position and scan again, particularly on the white background.
A straight horizontal or vertical line running edge to edge on the screen is not a dead pixel. It is almost always a T-con board failure, where the circuit that drives an entire row or column of pixels has failed. Lines on a Samsung TV are a separate repair scenario. For the full breakdown of what causes dead pixel lines and whether T-con replacement resolves them, see the Samsung TV dead pixel guide.
Samsung's standard warranty requires five or more dead pixels before authorizing a panel replacement in most cases. An isolated single pixel at the edge of a large 4K TV may not meet that threshold. Document everything with video on a phone camera before contacting Samsung support, and be specific about the on-screen position of each defect.
How to Test a Phone Screen for Dead Pixels in Fullscreen
Open the dead pixel test in your phone's browser. On iPhone, use Safari. On Android, use Chrome. Tap the fullscreen icon within the tool to expand it to fill the screen.
Before running the test, set your phone screen brightness to maximum. A dim screen makes subtle pixel defects harder to distinguish from normal display variation.
Cycle through all five solid color backgrounds. On phones with OLED displays, which includes every iPhone from the iPhone X onward and most Samsung Galaxy models, true dead pixels (permanently black dots) are less common than stuck pixels (bright or colored dots). On OLED, a stuck pixel that is visible on the black background as a faint color is a more typical failure than a pure black dead pixel.
Take a photo of any defect you find with a separate camera or a second phone. Do not rely on a screenshot. Screenshots capture the intended signal sent to the display, not the actual hardware output. A photo taken by a camera pointed at the screen captures what the panel is actually producing, which is what you need for warranty documentation.
For in-depth coverage of how dead pixels differ between OLED and LCD phone panels, and what Apple's warranty covers specifically, see the dead pixel on iPhone guide.
How to Test a Chromebook for Dead Pixels in Chrome
Open Chrome on the Chromebook and navigate to the dead pixel test. Press F11 to enter fullscreen. If your Chromebook keyboard does not have an F11 key, use the dedicated fullscreen key, which looks like a rectangle with two arrows pointing outward. If neither works, use the fullscreen button built into the tool itself.
The five-color test runs the same way as on any other monitor. Cycle through black, white, red, green, and blue backgrounds and scan each one from corner to corner.
Pay particular attention to the upper portion of the screen near the hinge. Chromebook panels are thinner than typical laptop screens, and pressure damage from carry habits tends to appear first in the area closest to the hinge mechanism. A school Chromebook that spent time in a full backpack may show dead pixels in that zone before anywhere else.
Confirm whether the dot you find is dead or stuck by checking both the white and black backgrounds. A dot that is invisible on black and clearly visible on white is a dead pixel. A dot visible on both is a stuck pixel and worth running through a color-cycling recovery attempt before any hardware decision.
For the complete guide covering school-issued Chromebook policies, warranty thresholds by brand, and what to do when the device belongs to a district IT program, see the Chromebook dead pixel guide.

How to Test an iPad or Android Tablet for Dead Pixels
Open Safari on an iPad or Chrome on an Android tablet and navigate to the dead pixel test. Tap the fullscreen button to expand the tool to fill the screen.
The test process is identical to the phone method. Set brightness to maximum, cycle through all five solid color backgrounds, and scan from corner to corner on each one.
Newer iPad models use OLED panels. The iPad Pro 11-inch and 13-inch from 2024 onward use OLED displays. On these models, the same rules that apply to OLED phones apply here: stuck bright pixels are a more common failure than true dead black pixels. A bright colored dot visible on the black background is the more typical defect to look for.
Older iPad models and most Android tablets use LCD panels, where dead pixels appear as sharp black dots on every light background and are invisible on black. The test result distinguishes these clearly.
Document any defect you find with a photo taken on a separate camera, not a screenshot. For iPad devices, take the device to an Apple Store for a Genius Bar assessment rather than contacting remote support. Apple technicians can confirm the defect in person and initiate a replacement directly from the store when the defect qualifies under warranty.
How to Test a Kindle Paperwhite for Dead Pixels
A Kindle Paperwhite uses an e-ink display, which operates on completely different physics from an LCD or OLED screen. Testing for dead pixels on a Kindle requires a different approach.
Open the Kindle's experimental browser and navigate to the dead pixel test tool. The tool can display a solid white background that fills the screen. Set the front light to maximum brightness and scan the entire surface slowly.
A dead pixel on a Kindle does not look like the sharp black dot you see on a monitor. An e-ink dead pixel appears as a permanent dark smudge or faint gray spot, because the charged particles inside the failed cell are physically stuck and cannot respond to the electrical signal that would normally move them. The edges are less defined than an LCD dead pixel. The spot stays in the same position on every page, through every full screen refresh.
Perform a full screen refresh before concluding any spot is a dead pixel. Go to Settings and trigger a page refresh from the menu. E-ink ghosting, which is a faint impression of previous content left over from an incomplete refresh, clears on a full refresh. A dead pixel does not clear. If the spot is still there after a full refresh on a white background, it is a hardware defect.
Amazon's warranty covers manufacturing defects on Kindle devices for one year. A single dead pixel near the center of the reading area typically qualifies for a replacement device, which Amazon handles more quickly than most laptop or TV manufacturers. For the full policy details and what to do if your Kindle is outside the warranty period, see the Kindle dead pixel guide.
What Each Background Color Reveals and What to Do After the Test
Each of the five background colors in the dead pixel test targets a specific type of display failure. Running all five, rather than just white and black, is the difference between catching every defect and missing the ones that only show up on a specific background.
White reveals dead pixels as black dots. Any pixel that stays dark on a fully white screen is permanently off.
Black reveals stuck pixels as bright or colored dots. Any pixel that glows any color on a fully black screen has a subpixel that is locked in an active state.
Red shows cyan dots where the red subpixel has failed. A pixel with a dead red subpixel cannot contribute red to the display, leaving it tinted toward the opposite color.
Green shows magenta dots where the green subpixel has failed. Green is the most sensitive channel in most display panels and subpixel failures here can be particularly visible.
Blue shows yellow dots where the blue subpixel has failed. A dead blue subpixel leaves only red and green active, producing a yellow point against a blue background.
Testing on dead pixel on white background and black alone catches most obvious defects, but subpixel failures that show up only on red, green, or blue are easy to miss on a quick test.
After confirming a dead pixel, the next steps depend on where you are in the ownership timeline. If the device is still within the retailer's return window, which is typically 15 to 30 days, return it. No manufacturer warranty negotiation is required. A confirmed dead pixel in a return window is a simple product return.
If the return window has passed but the device is still under the manufacturer's warranty, file a warranty claim with documentation. That means photos or video of the defect on at least the white and black backgrounds, the device model number and serial number, and the date of purchase. Every manufacturer covered in this guide, from Apple and Samsung to Amazon and Chromebook brands, requires this documentation before processing a claim.
The threshold for replacement varies by device type. Phone and tablet manufacturers, including Apple and Samsung for their Galaxy line, are generally more flexible than monitor or TV manufacturers. A single dead pixel on a phone near the center of the screen typically qualifies for replacement. A single dead pixel on a Samsung TV or a budget monitor may not meet the brand's minimum threshold and may require escalation.
All of the tools you need for testing, including the five-color dead pixel test and the stuck pixel fixer, are in the developer section. Run the full test at maximum brightness before making any warranty or repair decision.