You are recording a tutorial intro and want a scrolling terminal on your second monitor as background footage. You open a hacking simulator, start typing, and the terminal fills with green code. Four minutes into the recording, you notice the same function names appearing that you saw at the start. The code has looped.
That is one of the functional details that separates a hacking simulator built for a quick prank from one that holds up under extended content use. The Hacker Typer tool at ToolCenterHub covers both cases, but the settings and approach differ depending on what you actually need the output to do.
This guide covers what each code type produces and when to use each, what the speed and theme settings actually change, how to configure the simulator for video content and streaming, and how to manage the loop behavior so it does not appear in recorded footage.
What a Hacking Simulator Actually Produces
A hacking simulator generates terminal-style output in response to keyboard input. Each keypress advances a position counter through a stored script of real source code. The counter determines how many characters appear on screen per key. Speed controls that character count. The code itself is fixed.
This is the mechanism in almost every browser-based hacking simulator. The distinction between good and mediocre simulators is the quality of the stored code. Simulators that use randomly generated text or fake-looking strings fail quickly when anyone with coding experience looks at the screen. Simulators that use real code from actual programming projects produce output that looks like a real terminal because the content is real.
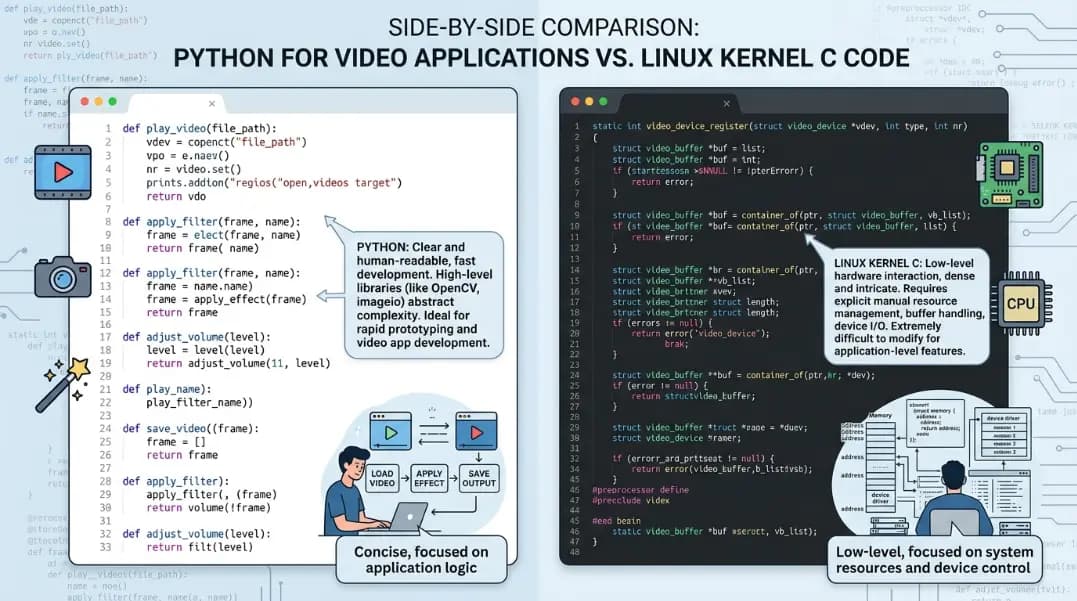
The Hacker Typer tool uses code from three real-world sources: Linux kernel C source files, a Python network tool, and x86-64 Assembly. These are not synthesized to look authentic. They are actual code. The Linux Kernel output includes tcp_v4_connect, groups_alloc, and sk_buff operations. The Python output includes encrypt_stream, scan_ports, and threading.Thread. Assembly output includes NASM section directives, XOR encoders, and syscall tables.
For a comparison of how this tool measures against other simulators available online, the free hacking simulator tools guide covers each option and what use cases each handles well.
What Is the Right Code Type for Your Situation?
The code type selector is the most important setting in the tool and the one most people leave on the default without thinking about it. Each of the three options produces fundamentally different output that lands differently depending on who is watching.
Linux Kernel C is the most technically dense option. The output contains C struct definitions, memory management functions using kernel-specific macros like DECLARE_RWSEM, network socket operations, and function signatures with multi-level pointer types. A systems programmer, embedded developer, or anyone who works in C will immediately recognize this as real kernel-level code. For technical audiences, this is the option that holds up under scrutiny. For general audiences, it is legible enough to look like code without being readable enough to evaluate.
Network Tool Python shows a Python networking script with AES encryption through the cryptography library, socket tunnel setup using the paramiko module, packet framing functions, and a port scanner using threading.Thread. Python's syntax reads closer to natural language than C or Assembly. A viewer who has never written code will see words like encrypt, connect, scan_ports, and target and understand that something network-related is happening. This context is more powerful for prank and content use than code that reads as a wall of symbols.
x86-64 Assembly shows NASM shellcode with a loader, mmap syscall setup, XOR encoder, and a system call reference table. Assembly is the most opaque option. Register operations like mov rax, 0x3b, section directives, and raw hexadecimal addresses read as machine-level operations that look entirely impenetrable to almost anyone, including most programmers who work in higher-level languages. For an audience that includes developers who would immediately recognize and dismiss C or Python, Assembly is the harder-to-evaluate option.
The ACCESS GRANTED guide covers each code type in more detail, including which audiences each works best for in a live prank context.
What Speed, Theme, and Fullscreen Actually Change
The three secondary settings shape the output, but most people treat them as preferences rather than tools with specific effects.
Speed controls how many characters appear per keypress, not how fast the animation moves. At Slow, each keypress adds a small increment of code. At Fast, each keypress adds considerably more. The visual difference is that Fast fills the visible terminal area in roughly a third of the time that Normal does.
For video content where you need a full terminal quickly, Fast is correct. For a prank where a gradual fill looks more natural, Normal works better. Slow is useful when the framing of your prank or content involves waiting for something complex to process, where a deliberate pace supports the narrative.
Theme changes the text and background color combination. Green is the most immediately recognizable hacking terminal aesthetic, backed by decades of film and television coding it as the default "hacking" visual. Blue reads as cleaner and more clinical. Amber is less common and stands out as a different kind of system, which can be useful when you want the setup to look less generic.
For video content, Green produces the strongest visual contrast and remains readable under most compression settings. Blue and Amber can wash out or shift color under certain lighting conditions and camera settings. Green is the reliable choice when the output needs to look sharp on screen.
Fullscreen is not optional for any serious use case. It removes all browser chrome from view. A visible URL bar, tab strip, or browser toolbar immediately reads as "a website being browsed," which collapses the visual effect immediately. Enter fullscreen before typing begins. This is especially important for recorded content where a visible URL is a permanent artifact in the footage.
Using a Hacking Simulator for Video Content
Video content is one of the most common use cases for hacking simulators, and the setup that works for a quick prank differs from the setup that works for recorded footage.
For a YouTube thumbnail, the goal is a dense, high-contrast screenshot with no empty areas in the terminal. Fill the terminal completely before capturing. At Normal speed with 30 to 45 seconds of continuous typing, the terminal reaches maximum visible density. Beyond that point, new code continues pushing old code off the top of the visible area. For the thumbnail capture, this density peak is the right moment. Python code type reads best at thumbnail dimensions because function names like encrypt_stream and scan_ports remain legible even when scaled down to thumbnail size.
For B-roll video footage or a streaming background, Python is again the correct code type. C and Assembly produce dense character sequences that compress poorly at lower streaming bitrates, turning into a blurry mass of text rather than legible code. Python's spaced-out syntax and longer function names survive compression better and look more convincing as motion footage.
Record at a higher resolution than your output format. If you are producing 1080p content, recording at 1440p gives room to crop and reframe without loss of sharpness. The browser scale factor matters here: running the browser at 1440p before entering fullscreen captures more terminal output per frame.
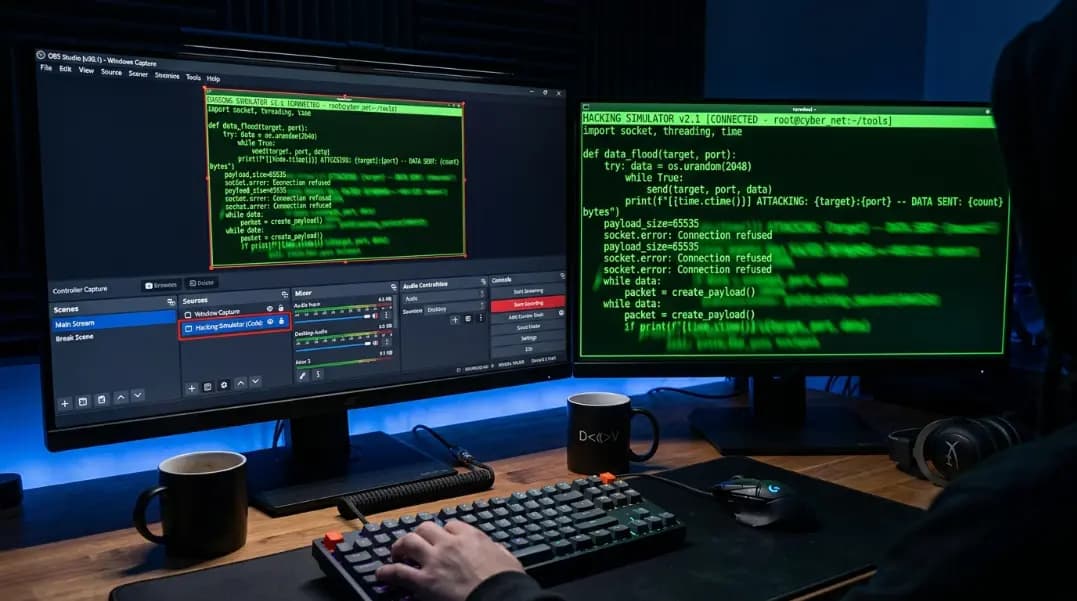
For an OBS streaming setup, add a Window Capture source and select the browser running the simulator. Enable fullscreen mode inside the browser before starting the capture. OBS captures only the terminal output. Use OBS's crop filter to remove any remaining margins if the terminal does not fill the capture area exactly. The Clear button produces an instantaneous visual reset with no loading or transition, which makes it a clean cut point in recorded footage. If you need a loop, record through to a Clear event and cut there.
Managing the Loop for Extended Sessions
Every code type in the simulator stores a fixed-length script. When the terminal reaches the end of that script, it restarts from the beginning. The loop becomes visible when familiar function names or code blocks start appearing again in the output.
For short sessions lasting a few minutes, this is not a visible issue. For a live stream running the simulator as a background for 30 or 60 minutes, the loop is likely to become noticeable. The Python snippet is shorter than the Linux Kernel snippet, which means it loops faster under continuous typing.
Three ways to handle this. First, use the Clear button to wipe the visible output before the loop becomes visible and continue typing. The Clear button does not reset the code position; the script continues from where it was, so the cleared terminal will fill with different code than it started with. Second, switch code types mid-session. Switching from Python to Linux Kernel C clears the output and resets the code position to the beginning of the new snippet. Third, set up a keyboard macro tool on your operating system to send automatic keypresses at a slow enough rate that the loop takes much longer to reach.
For most practical uses, the Clear button approach is the simplest. If you are recording footage and need a clean loop, Clear produces the instantaneous cut point you need without any visual transition.
Simulators vs. Real Terminals vs. Video Footage
When choosing between a live hacking simulator, running real terminal commands, and using pre-recorded footage, the right choice depends on what you are producing.
A live simulator is the correct choice when the output needs to respond to keyboard input in real time. Pranks, live demonstrations, Discord screen shares, and any situation where someone might notice that nothing is changing require live response to input. The simulator provides that response.
Real terminal commands running in a genuine terminal, such as netstat -ano on Windows or top on Linux, produce authentic output that is harder to dismiss on technical inspection. They also require the right operating system and the right configuration to look right on camera. For audiences that include technical viewers who would evaluate the output for authenticity, real commands combined with the simulator in a second window can make the setup more convincing than either alone. The how to look like a hacker guide covers which specific terminal commands produce the best visual output on Windows, Mac, and Linux.
Pre-recorded video footage of a running terminal is suitable for situations where you need repeatable, consistent background footage without any real-time interaction. Looping a recorded segment of the simulator works for backgrounds in video calls, presentation templates, and screen recordings where the terminal does not need to respond to input.
All of these tools are in the developer section, which covers the full set of utilities available on ToolCenterHub including hash generators, JSON formatters, and other technical tools that serve different functions.