Your monitor has a refresh rate listed in the spec sheet. Whether it is actually running at that rate is a different question. Most monitors ship with a lower default and many users never change it. A 144Hz display stuck at 60Hz is common and easy to miss.
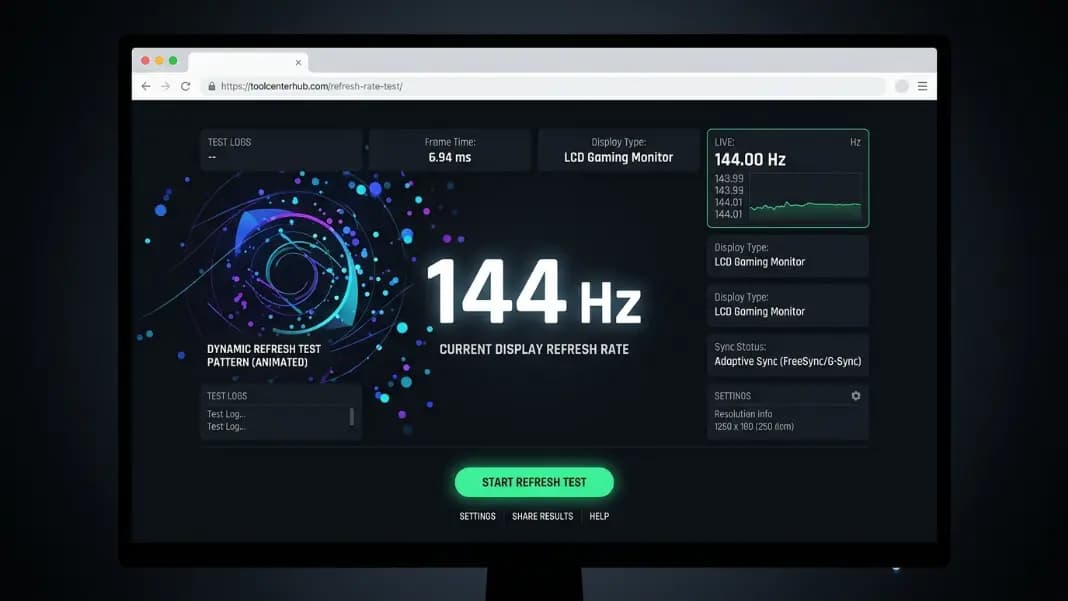
The fastest way to check your actual rate is the refresh rate test tool. It measures what your display is genuinely outputting right now, not just what Windows is configured to send. Open it, let it run for a few seconds, and you will see the real number.
Once you know what rate you are at, this guide will show you how to find the setting on Windows and Mac, why a high-refresh monitor might be capped below its maximum, and how to fix it.
What refresh rate actually means
Refresh rate is how many times per second your screen redraws the image it displays. The unit is hertz, abbreviated Hz. A 60Hz monitor completes 60 full redraws per second. A 144Hz monitor completes 144.
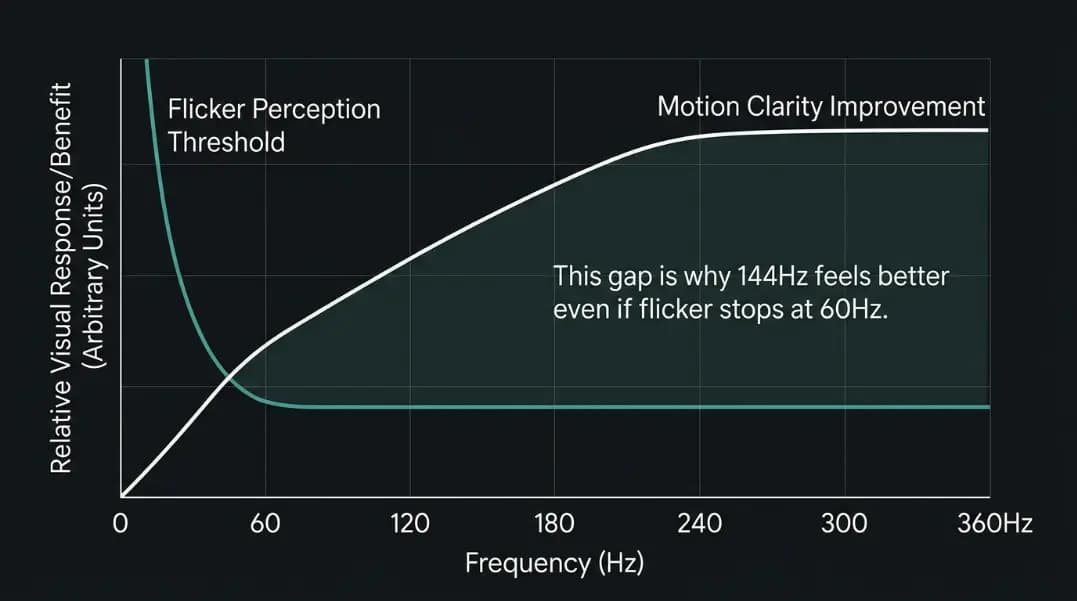
Higher numbers mean smoother motion. At 60Hz, fast movement in games or rapid scrolling has a slight choppiness that most people have learned to accept. At 120Hz and above, motion feels qualitatively different, cleaner and more responsive. The improvement is most obvious the moment you move the cursor quickly or scroll a long page at speed.
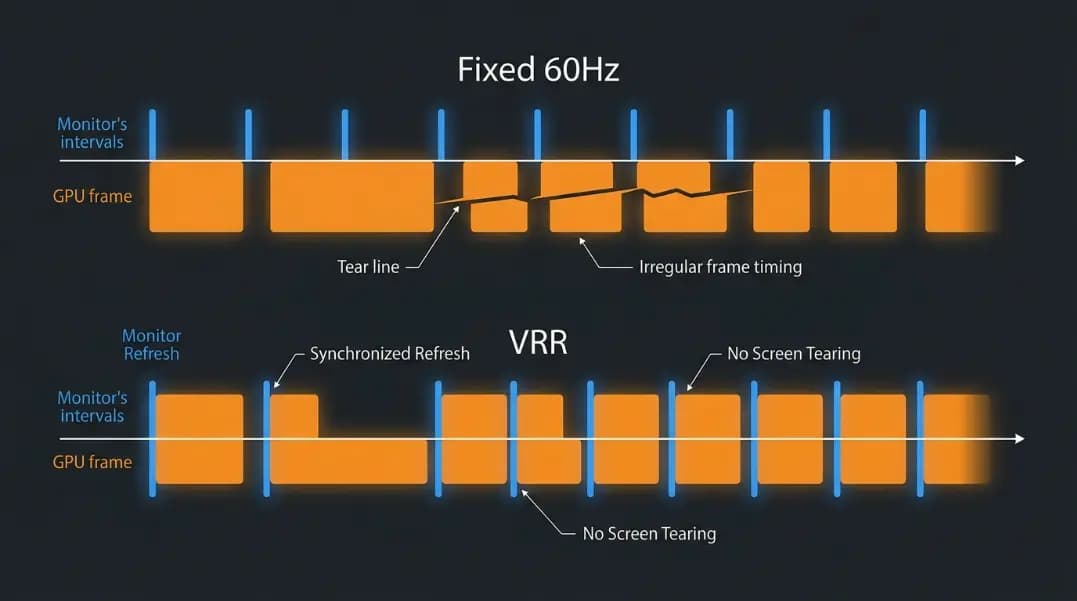
Refresh rate is not the same thing as frames per second. Refresh rate is a property of the monitor hardware, the ceiling of what it can display. FPS is how many frames your graphics card renders. If your GPU produces 200 FPS but your monitor is capped at 60Hz, you see 60 unique frames per second. Both need to be high for the benefit to show up. The refresh rate vs FPS guide covers what happens when the two numbers fall out of sync, including how screen tearing forms and what sync technologies do about it.
How to check refresh rate on Windows 11
Right-click anywhere on your desktop and select Display Settings from the context menu.
Scroll down past the resolution and scale settings and click Advanced Display. This opens a dedicated panel with detailed information about your connected monitors.
Under Display Information, you will see the current refresh rate listed next to your monitor's name. If you have multiple monitors connected, a dropdown at the top of the panel lets you switch between them.
If your monitor supports more than one refresh rate, you will see a Choose a Refresh Rate dropdown. This is where you change the active rate. Select the highest option available and apply the change.
How to check refresh rate on Windows 10
Right-click your desktop and select Display Settings.
Scroll to the bottom of the page and click Advanced Display Settings.
On the next screen, click Display Adapter Properties for Display 1.
In the dialog that opens, click the Monitor tab. You will see the Screen Refresh Rate listed with a dropdown showing the current selection and all rates your setup supports for that monitor and cable combination.
How to check refresh rate on Mac
Open System Settings and click Displays.
If your display supports multiple refresh rates, you will see a Refresh Rate dropdown next to the resolution options. The current active rate is shown there.
On Apple Silicon Macs running macOS Monterey or later, some displays use ProMotion or Adaptive Sync instead of a fixed rate. These modes dynamically adjust the rate based on content, up to the panel maximum. The maximum rate for your specific model is listed in Apple's technical specifications.
External monitors connected to a Mac follow the same logic as Windows: check the cable type first, then the refresh rate setting in Displays.
How to check refresh rate on Linux
On most desktop environments, open the display settings from the system menu. In GNOME, go to Settings and click Displays. In KDE Plasma, go to System Settings and then Display and Monitor.
You can also check from the terminal. Run xrandr and look for the line with an asterisk next to it. That asterisk marks the currently active mode and refresh rate. The number shown is your current rate.
Check your actual rate with an online tool
System settings show the configured rate. What you need to know is whether that rate is actually being delivered to your screen.
The refresh rate test at ToolCenterHub measures the real output by timing how many animation frames your display completes per second. It uses the browser's requestAnimationFrame API, which syncs to the display's actual refresh cycle. Open the tool, let it stabilize for a few seconds, and read the number shown.
This matters because a cable or driver limitation can silently cap your rate below what Windows reports as configured. If the setting says 144Hz but the test shows 60Hz, the problem is in the hardware chain between your GPU and your monitor.

Why your 144Hz monitor is running at 60Hz
The cable is the most common culprit by a wide margin. HDMI 1.4 supports 1080p at 60Hz. To run 1080p at 144Hz, you need DisplayPort 1.2 or higher, or HDMI 2.0 or higher. Many monitors ship with an HDMI cable in the box that cannot carry the bandwidth a 144Hz signal requires. Switching to a DisplayPort cable resolves this instantly for most setups.
The second most common cause is the default setting. Windows does not automatically select the highest refresh rate when you connect a new monitor. It often defaults to 60Hz and waits for you to change it manually.
Other causes to check:
- Outdated graphics driver: Download the latest driver from NVIDIA's, AMD's, or Intel's website and reinstall it. A stale driver sometimes fails to expose the full range of rates a monitor supports.
- Wrong GPU port: On older multi-GPU setups, only the primary DisplayPort output supports high refresh rates. Check which port you are using.
- Monitor OSD limits: Some monitors have a setting in their on-screen menu that caps the refresh rate. Open the monitor's physical button menu and look for image or display settings.
- Faulty cable: A cable that looks correct can still have internal damage or a manufacturing defect that limits bandwidth. Try a different cable if switching to DisplayPort does not resolve the issue.
How to change your refresh rate
Once your cable is correct, open Display Settings, click Advanced Display, and use the Choose a Refresh Rate dropdown to select the highest available option.
The dropdown only shows rates that your current combination of monitor, cable, and GPU supports. If 144Hz is not listed after changing the cable, the next step is updating your graphics driver and restarting.
On some setups, a custom resolution needs to be created in the NVIDIA Control Panel or AMD Software to unlock a rate the display supports but Windows does not detect automatically. This is more common with older monitors or non-standard resolutions than with modern displays.
Refresh rate on laptop displays
Laptop displays are controlled differently from external monitors. Most gaming laptops now ship with 144Hz or 165Hz panels, but the Windows default is often still 60Hz to preserve battery life.
To change it, right-click the desktop, open Display Settings, click Advanced Display, and look for the refresh rate option. If multiple rates appear, selecting the highest one will stay active while plugged in.
Some laptop manufacturers include battery-saver software that overrides the refresh rate setting when unplugged. Check your power plan settings if the rate reverts to 60Hz when on battery.
For everyday use on battery, staying at 60Hz is reasonable. The power saving is real even if modest. Switch back to the full rate when gaming or when plugged into power.
Gaming and everyday use: what rate do you actually need?
For competitive gaming, a higher refresh rate provides a genuine advantage. At 144Hz and above, fast motion is visibly sharper and the time between a player's input and the corresponding screen update decreases. Professional esports players use 240Hz and 360Hz monitors because the difference is measurable in practice. The human eye and refresh rate guide covers the research behind what visual perception above 60Hz actually shows, including why the common claim that humans cannot see past 60Hz is wrong.
For casual gaming and general daily use, the step from 60Hz to 120Hz or 144Hz is the biggest improvement available in display technology at the consumer level. Scrolling, window animations, video playback, and cursor movement all feel more fluid. The quality-of-life benefit is consistent even outside of games.
For color-critical work like photo editing and video grading, panel type and color accuracy matter more than refresh rate. A well-calibrated 60Hz IPS monitor is better for accurate color work than an uncalibrated 144Hz TN panel.
Other display tests worth running
While you are checking your refresh rate, two related tools are useful to run on any monitor, especially a new one still within its return window.
The dead pixel test cycles your screen through solid colors, black, white, red, green, and blue, to reveal any pixels that are not working correctly. A single dead or stuck pixel that goes unnoticed before the return window closes becomes a permanent problem.
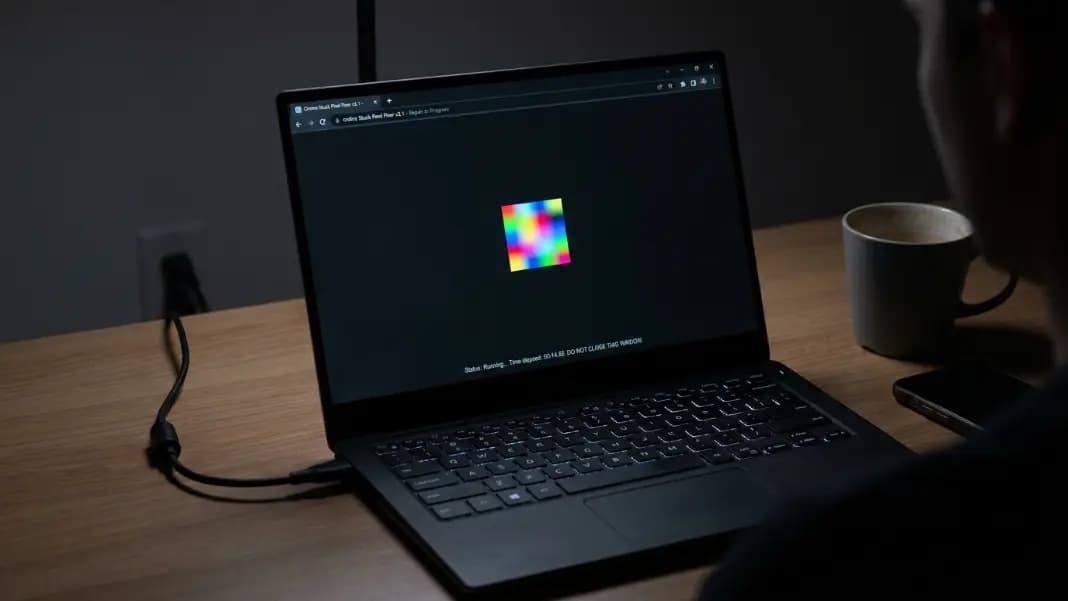
The stuck pixel fixer cycles colors rapidly over a selected area in an attempt to wake up pixels that are stuck in one state. It works for some types of stuck pixels and takes only a few minutes to try.
The touchscreen test is worth checking on any touch-enabled display to confirm all touch zones are responsive and multi-touch is working as expected.
All of these tools are free and run directly in the browser at the developer tools hub.