You found something wrong with your laptop screen: a dot that stays in one place no matter what is displayed. Now you want to fix it. Whether that is possible depends entirely on which type of pixel problem you have, and the difference matters more than any repair method you try.
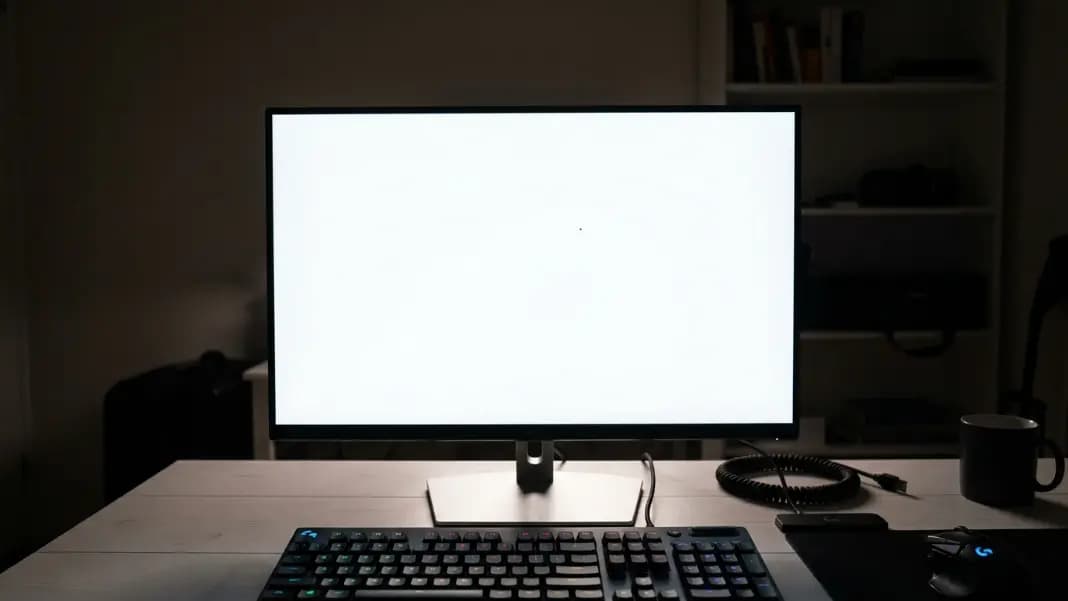
Dead pixel repair on a laptop starts with a test, not a tool. Open the dead pixel test in fullscreen and cycle through every solid color background. If the dot is invisible on black and visible as a black point on every other color, it is a dead pixel. If it glows a constant color and is visible even on a pure black background, it is a stuck pixel. That distinction tells you immediately which repair options exist.
The Honest Answer: What Can and Cannot Be Fixed
A dead pixel is a pixel where the thin-film transistor has permanently failed. It receives no power. The liquid crystal defaults to a closed opaque state and stays there. The backlight cannot pass through, so the pixel is always black. Nothing you do to the screen from the outside can restart a failed transistor. No software, no light pressure, no temperature change, no power cycling. A genuinely dead pixel is permanent.
A stuck pixel is different. The transistor is working, but the liquid crystal is frozen in one position because the crystal material has become temporarily locked. The transistor is still delivering voltage, the crystal is just not responding correctly to it. Stuck pixels can sometimes be recovered because the underlying hardware is intact.
The fastest way to confirm which you have: look at the dot on the pure black test background. Dead pixels are invisible on black because they produce no light. Stuck pixels are visible on black because they are actively emitting a color. If you can see the dot on a black background, your odds of fixing it just improved considerably.
How to Tell If You Have a Stuck Pixel Before Trying Anything
Open the dead pixel test and put it through all backgrounds before attempting any fix.
On black: if the dot is visible and colored, it is stuck. If it disappears entirely, it is dead.
On white: a black dot is a dead pixel. A colored dot is a dead subpixel, where one of the three subpixels has failed. See what is a dead pixel for the full breakdown of subpixel failures.
On red, green, and blue: a stuck pixel shows its locked color on every background regardless of what surrounds it. A dead pixel or dead subpixel shows as black against each color.
The cycling test also rules out dust, which is the other common false alarm. Dust under the glass has soft, uneven edges and looks slightly different on different colored backgrounds. A genuine pixel defect has perfectly sharp, pixel-defined edges that look identical on every background.
Once you have confirmed you have a stuck pixel, you have three practical options worth trying before booking a repair.
How to Run the Stuck Pixel Fixer and What to Expect
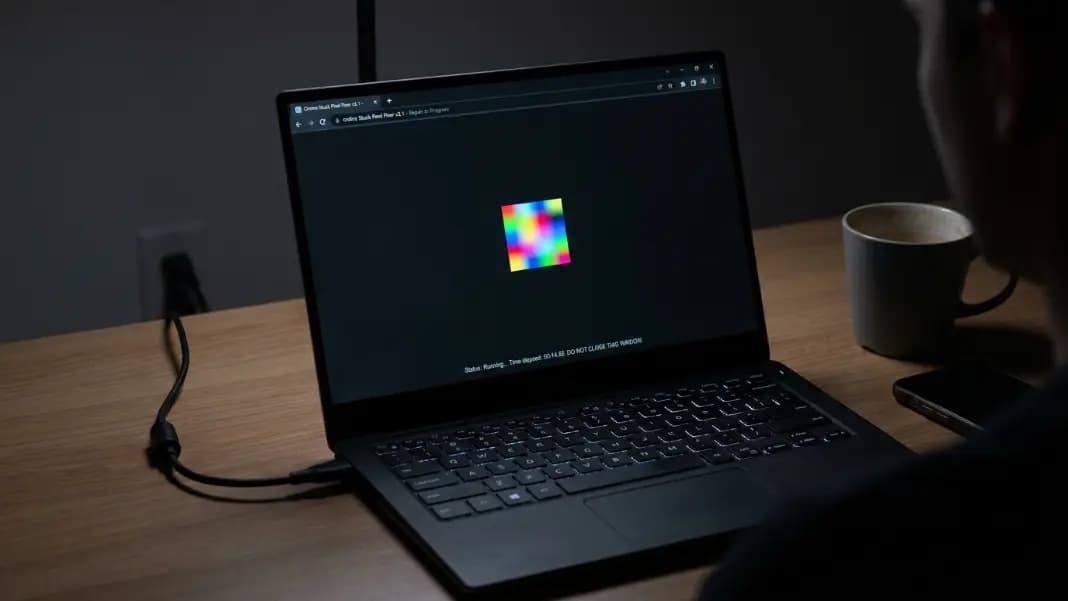
Open the dead pixel test, which includes a stuck pixel recovery tool. Position the cycling area directly over the affected pixel. The tool flashes the area through colors at high speed, forcing the liquid crystal in the frozen pixel to receive switching signals repeatedly.
Run the tool with these conditions for the best results:
- Keep the laptop plugged in so the display stays at full brightness
- Close all other applications so the system resources stay available
- Set the screen to its maximum brightness during the cycling
- Do not touch or move the laptop while the tool is running
Check the pixel after 20 minutes of continuous cycling. If the dot has disappeared, changed color, or is flickering, the recovery is working. Keep the tool running for up to another 40 minutes and check again. Many stuck pixels recover within the first 30 minutes or not at all.
If you see any change in the pixel during cycling, continue for up to two hours total. Some pixels need extended cycling to fully recover. A pixel that flickers during cycling is showing that the crystal is partially responding, and continued cycling often finishes the job.
If there is zero change after two hours, stop. Two hours of cycling with no response is the practical cutoff. The pixel is either genuinely dead, or the crystal is frozen in a state that rapid cycling cannot address. Additional time will not produce a different result.
Successful recovery rate for stuck pixels using this method is roughly 30 to 60 percent. That is not a guarantee, but it costs nothing and takes no technical skill. It is always the right first step.
Why the Pressure Method Is Almost Never Worth Trying
The pressure method involves pressing a blunt object or finger against the screen directly over the stuck pixel while the cycling tool is running, with the idea that physical vibration helps dislodge the frozen crystal.
It occasionally works. The problem is the risk profile.
LCD panels are fragile. The glass substrate flexes very slightly under pressure. Pressing on one pixel puts mechanical stress on the surrounding area. Too much pressure, even with something soft like a fingertip through a cloth, can permanently damage adjacent cells. A single stuck pixel can become a cluster of five or ten dead pixels from one overly firm application of pressure.
If you have tried software cycling for at least 30 minutes with no result and decide to try pressure as a last resort before replacement:
- Use a very soft cloth folded multiple times so the pressure is distributed
- Apply only the lightest possible contact, just enough to feel you are touching the surface
- Hold for no more than 20 to 30 seconds at a time
- Stop immediately if you see any spreading of the defect
If you are not certain you can apply that level of precision, do not try it. The downside of making the defect worse is worse than the defect itself.
Power cycling the laptop, turning it completely off and letting it sit for several hours before restarting, is a lower-risk alternative. Some stuck pixels recover after a full power cycle, particularly on laptops that run very warm. The thermal change can occasionally free a crystal that had locked during prolonged heat. It is worth trying before the pressure method.

What Happens When Pixel Cycling Does Not Work
Two hours of cycling with no result means software cannot fix this pixel. Here is where you are and what comes next.
Check your warranty. Most laptop manufacturers cover dead and stuck pixels as hardware defects under the standard warranty. The threshold varies by brand. Some require only one or two dead pixels near the center for replacement. Others require five or more. Check your manufacturer's specific policy and your purchase date.
If the machine is under warranty, contact the manufacturer or retailer and describe the defect. Take photos showing the dot on a white background and on the black background (to show whether it is colored, indicating stuck, or absent, confirming dead). Clear documentation speeds up the claim considerably.
Consider the defect's location. A single dead pixel in the top corner of the screen is annoying but may not affect your work. A stuck pixel in the center of the display, particularly one that glows a bright color, is significantly more disruptive. Where the defect sits affects whether it is worth pursuing repair.
Book a professional diagnosis. A repair shop can confirm whether the defect is a panel issue or a cable issue. A cable issue sometimes produces symptoms that look like individual dead pixels but are actually intermittent conductor contact. A shop can also quote the screen replacement cost for your specific model before you commit to anything.
Dead Pixel Lines Are a Different Problem Entirely
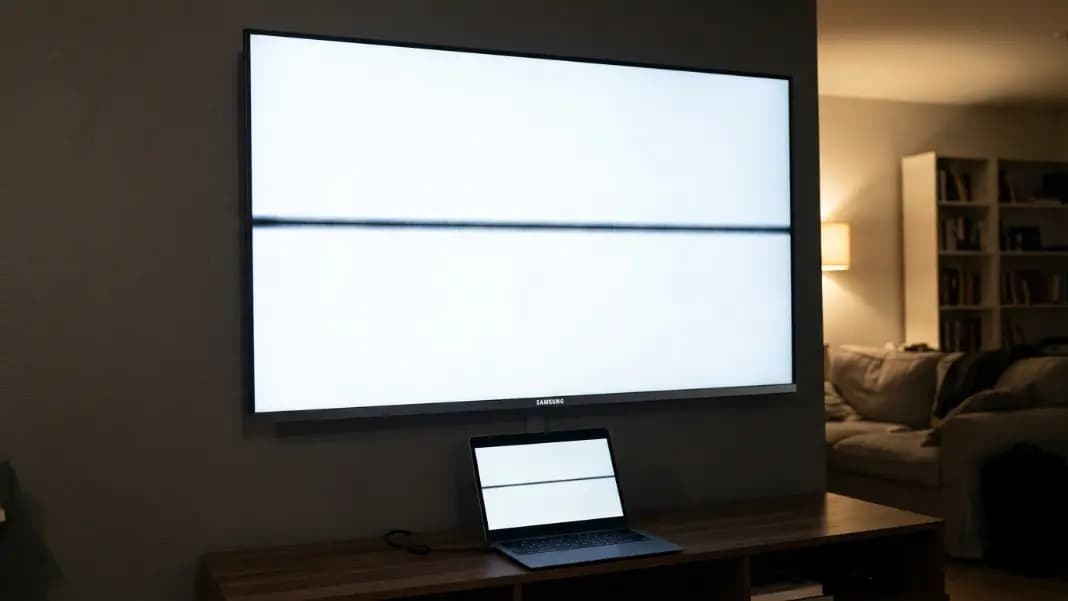
If you are looking at a straight horizontal or vertical line of dead pixels rather than individual dots, the repair path is completely different.
A line means a circuit path has failed, not individual pixel cells. The T-con board that controls entire rows and columns has either failed, or the ribbon cable feeding signals to a column has a broken conductor. Pixel cycling has no effect on a circuit failure. No amount of color cycling repairs a broken wire.
The dead pixel line guide covers this specific failure in detail, including how to tell whether the cause is a T-con board, a ribbon cable, or physical panel damage, and what repair options exist for each. If what you are seeing is a line, start there rather than continuing to try pixel cycling tools.
When Screen Replacement Is the Right Call
Software options run out quickly for dead pixels. If cycling did not work, you are making a hardware decision.
Replace the screen when the defect is confirmed dead rather than stuck, when multiple dead pixels cluster in a central area that affects your normal work area, or when a line of pixels has failed. These are hardware failures that no tool can address.
Cost of laptop screen replacement varies widely. For most mid-range laptops, replacement panels cost $60 to $150 for parts. Labor at a repair shop adds $60 to $120. A good shop warranties the repair for at least 90 days.
Before booking a repair, check the laptop's resale or replacement value. If the screen replacement plus any other needed work costs more than 60 percent of what a comparable replacement laptop costs, replacement may be the better long-term choice. Screens are not the only component that wears over time, and a repaired older laptop is not the same as a newer one.
For all display testing tools, the dead pixel test guide has the full breakdown of how manufacturers classify defects and what the warranty replacement thresholds look like by brand. The developer section has the dead pixel test and stuck pixel fixer together in one place. If your dead pixel count appears to be growing, the do dead pixels spread guide explains what causes clusters to form and what to document before filing a claim. For exact brand-by-brand replacement thresholds, the dead pixel warranty policy guide covers what Samsung, Apple, Dell, ASUS, and others require.